Ever wondered why some online courses keep you watching while others make you want to skip? The answer is effective e-learning video production. It grabs your attention and shares information in a way that’s hard to ignore.
Those days of simple slideshows with voiceovers are over. Today, learners want dynamic and interactive lessons that teach and entertain. After years of making educational video content, I know what really works.
Making high-quality e-learning videos is more than just filming an instructor. It takes careful planning, creative storytelling, and technical skills. These elements turn complex info into lessons that viewers remember.
In this guide, I’ll share all you need to know about making engaging content. Whether it’s for corporate training, online courses, or educational resources, these tips will help you meet your goals.
Need help with your project? Find experienced freelancers to improve your e-learning materials and get great results.
Table of Contents
Key Takeaways
- Effective e-learning videos combine engaging visuals with clear instructional content
- Today’s learners expect interactive and dynamic educational experiences
- Professional production quality significantly impacts viewer retention and learning outcomes
- A structured production process is essential for creating successful educational content
- The right balance of creativity and educational substance leads to the most effective results
- Working with experienced professionals can dramatically improve your final product
Why E-Learning Videos Are Transforming Education
In my years as a video production specialist, I’ve seen how e-learning videos are changing education. The move from old learning methods to video instruction is a big change. It’s not just a trend; it’s a new way of learning and training in all areas.
E-learning videos make learning more engaging by using visuals, sounds, and interactivity. This makes learning more immersive than old methods like textbooks or slideshows.
When I make educational videos, I see big changes in how people learn. Learners are 75% more likely to watch a video than read printed materials. This makes video key for teachers and trainers to reach their goals.
Adding video to learning plans boosts retention and understanding. Complex ideas are easier to grasp with visuals and words. This offers different ways to understand information.
If you want to improve your educational content with video, hiring a skilled e-learning video specialist is key. They can help you meet your learning goals.
The Power of Visual Learning in the Digital Age
Today’s learners process information differently than before. They have shorter attention spans and expect engaging content. Visual learning is more important now.
When I make educational videos, I use the brain’s love for visuals. Our brains process visuals 60,000 times faster than text. This makes video a great way to learn.
Studies show we remember information better when it’s visual. This is true for complex ideas that need visuals to understand. In a world full of information, visuals help us remember better.
How Quality Videos Improve Learning Retention
Good videos improve retention by engaging senses. Seeing and hearing information together helps us remember it better. This strengthens brain connections.
I’ve seen that well-made videos with clear visuals and audio stick with viewers. Studies show video learning can boost retention by up to 60% compared to text.
| Learning Aspect | Traditional Learning | Video-Based Learning | Improvement |
|---|---|---|---|
| Information Retention | 10-20% after 3 days | 65-70% after 3 days | 3x higher |
| Completion Rates | 20-30% | 60-80% | 2-3x higher |
| Learning Time | Standard | 40-60% faster | Nearly half the time |
| Learner Satisfaction | Moderate | High to Very High | Significantly improved |
Planning Your E-Learning Video Strategy
Getting your e-learning videos right starts with good planning. Even the best tools and editing can’t fix a bad plan. A well-thought-out strategy makes sure your videos teach what they’re meant to and keep viewers interested. Let’s look at the key steps to make your e-learning videos a hit.
Defining Clear Learning Objectives
Every educational video needs clear learning objectives. I ask myself, “What should viewers do after watching?” This question shapes my whole production.
I use the SMART framework for my objectives:
- Specific: What skill or knowledge will learners gain?
- Measurable: How will you know if learners have achieved the objective?
- Achievable: Is the objective realistic given the video length and audience?
- Relevant: Does this objective matter to your learners?
- Time-bound: When should learners be able to demonstrate this knowledge?
For example, instead of saying “This video teaches Excel,” I say “After watching this 8-minute video, learners will be able to create and format pivot tables in Excel to analyze sales data.” This clear goal helps me stay focused and helps learners know what they’ll learn.

Understanding Your Target Audience
Knowing who will watch your videos changes how you make them. I spend a lot of time learning about my target audience before starting production. This research includes:
- Prior knowledge level (beginners need more context, experts need less)
- Technical capabilities (what devices they’ll use to watch)
- Attention spans (younger audiences may need more dynamic content)
- Learning preferences (visual, auditory, or hands-on learners)
- Cultural considerations (examples that resonate with their experiences)
A video for medical professionals needs different terms, pace, and examples than one for high school students. When I really get to know my audience, I can make content that meets their needs and learning styles.
Choosing the Right Video Format for Your Content
The video format should match your learning goals and audience needs. I pick different formats for my online course modules based on what I aim to teach.
Each format has its own purpose. Animated explainers are great for understanding concepts. Tutorial videos are best for learning skills. Lecture recordings share expert insights but need engaging visuals and editing to keep viewers interested.
Many courses use different formats to reach various learning styles and keep interest. The key is to match the format to the specific learning goal of each module.
Explainer Videos vs. Tutorial Videos vs. Lecture Recordings
Explainer videos break down complex ideas with simple visuals. They’re good for introducing new concepts. Tutorial videos show step-by-step instructions, perfect for software training or demonstrating processes. Lecture recordings share expert knowledge but need engaging visuals and tight editing to avoid viewer fatigue. I use explainers for “why” questions, tutorials for “how” questions, and lectures for deep dives into specialized topics.
When to Use Animation vs. Live Action
I choose animation for abstract concepts, internal processes, or historical scenarios that can’t be filmed. Live action adds authenticity and human connection, making it great for demonstrations, interviews, and building rapport with learners. Budget also plays a role—animation takes more planning but can be cheaper for complex visuals. Need help deciding? Connect with experienced educational video strategists to get your project off to a great start.
Budgeting for E-Learning Video Production
Understanding the costs of e-learning video production is key. I’ve helped many clients create budgets that meet quality and financial needs. Good educational videos don’t need huge budgets to be effective.
Cost Factors in Educational Video Creation
Several key elements affect your video’s cost. Professional talent costs vary by experience and market rates. Location costs add up, too, if you need special settings.
Production time also matters. More complex videos need more filming and editing hours. This increases labor costs.
Animation is a big part of your budget. It’s more expensive upfront but can be cheaper for complex topics. It’s also easier to update later.
Cost-Effective Production Strategies
Batch production is very cost-effective. Filming many videos at once spreads setup costs. This is great for series.
Training videos are a budget-friendly option for L&D teams. They save money on in-person training and let learners review content anytime.
Using stock footage, music, and images can improve quality without high costs. Creating video templates for common content types also saves time and money.
Working with Freelancers vs. Production Companies
Choosing between freelancers and production companies has tradeoffs. Freelancers are often cheaper and more flexible but may lack certain skills. Production companies offer quality but at a higher cost.
Many clients use a mix of freelancers and in-house teams. This way, they get specialized skills within budget. We can connect you with skilled e-learning video freelancers.
Equipment Investment Considerations
Plan your equipment investment based on your production needs. For regular content, buying basic equipment is cost-effective. But for occasional use, renting or hiring professionals is more affordable.
🚀 Unlock the Secret to Engaging Online Courses – Hire E-Learning Video Experts Today!
Essential Equipment for Quality Production
Creating professional e-learning videos starts with the right tools. You don’t need expensive Hollywood gear to make great educational content. A few key pieces of equipment can greatly improve your videos. They make your videos look better and help your message get across clearly.
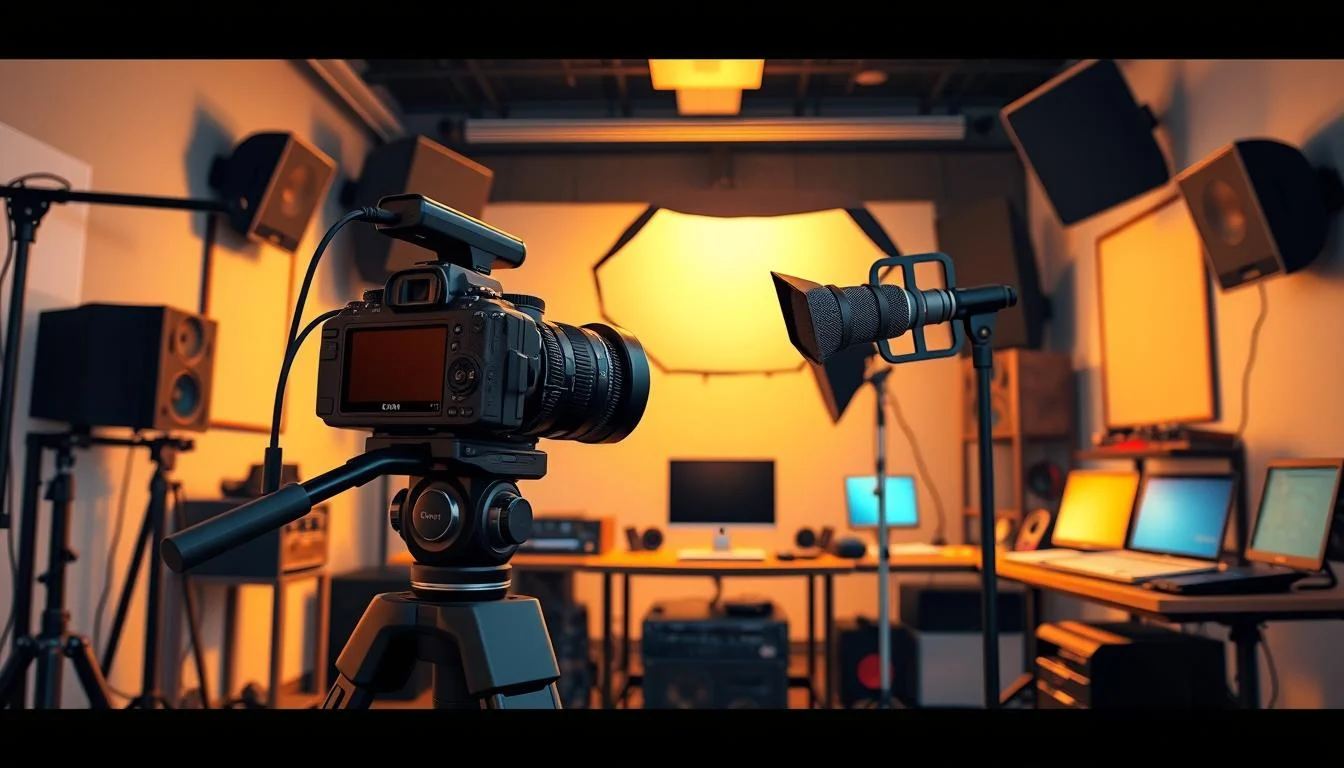
When making e-learning videos, focus on camera quality, audio clarity, and lighting. These elements make your videos professional and engaging. Let’s look at the essential equipment you need to make better videos.
Camera and Audio Equipment Recommendations
Start with what you already have for camera equipment. Modern smartphones can take great video in good light. If you can afford it, a DSLR or mirrorless camera with a 24-70mm lens is versatile for most educational content.
But, audio quality is more important than video quality for learning. Bad audio will make viewers leave your content quickly. For clear sound, consider:
- Lavalier (clip-on) microphones for presenters
- Shotgun microphones for controlled environments
- USB microphones like the Blue Yeti for voiceovers (under $100)
Tools like teleprompters help presenters, and video editing software adds polish. If you’re unsure about equipment, talk to video production experts. They can suggest the best options for your project and budget.
Lighting and Background Setup
Lighting is key to video quality, even with basic gear. I use a simple three-point lighting setup for most e-learning videos:
| Light Type | Position | Purpose | Recommended Equipment |
|---|---|---|---|
| Key Light | Front-right or front-left of subject | Main illumination | Softbox or LED panel |
| Fill Light | Opposite side of key light | Reduces shadows | Diffused LED or reflector |
| Back Light | Behind subject | Separates subject from background | Small LED light |
For most e-learning videos, soft, diffused lighting works best. It reduces shadows and looks good. Ring lights are also popular for their even facial lighting at a good price.
The background is your video’s silent communicator. It should complement your content without competing for attention.
Your background should be simple and not distract from your content. A clean, uncluttered space or a neutral backdrop works well. While virtual backgrounds are okay, physical ones usually look better and avoid digital glitches.
Crafting an Effective E-Learning Video Script
Every great e-learning video starts with a well-written script. This script is key to both making the video and teaching the lesson. Writing it yourself is okay, but working with experts can make it even better. They help make sure your message fits your brand and learning goals.
A good script is more than just words. It’s a guide for making your video. I’ve seen how a great script can turn a good video into an excellent one.
Script Structure and Flow
When I write scripts, I stick to a structure that keeps viewers interested. Every script starts with a hook that grabs attention and tells viewers what they’ll learn.
The main part of the script builds up from simple to complex ideas. I break down information into easy-to-follow chunks. This makes the learning journey smooth and engaging.
At the end, I summarize the key points and give a clear call to action. This three-part structure—hook, content, conclusion helps learners understand complex topics.
Writing for Clarity and Engagement
Writing educational scripts is different from other types of writing. I use simple language and examples to explain complex ideas. Short sentences and familiar words keep viewers interested.
I avoid using jargon unless it’s necessary. When I do use technical terms, I explain them clearly. Stories and analogies help make abstract ideas relatable.
Because viewers can’t go back like they can with text, your script must be clear the first time. I often read my scripts aloud to check if they sound natural and flow well.
Incorporating Learning Checkpoints
Learning checkpoints are important for reinforcing what viewers learn. I place them strategically to keep the content engaging. These can be summaries, examples, or transitions between topics.
Checkpoints help prevent information overload. They give viewers a chance to process what they’ve learned before moving on. They also make filming and editing easier.
The best checkpoints feel like a natural part of the video. I make sure they enhance the learning experience without interrupting it.
Using Questions to Reinforce Learning
Questions make viewers active participants. I use both rhetorical and explicit questions to keep them engaged. These questions help viewers think about the material instead of just watching.
Well-timed questions also create curiosity and motivation. They encourage viewers to keep watching for answers.
Balancing Information Density
One common mistake is putting too much information in a short video. I balance the amount of information in my scripts. This avoids overwhelming viewers with too much at once.
I follow complex sections with simpler ones. This gives viewers time to understand what they’ve learned. For tough topics, I use both words and visuals to reach different learning styles.
| Script Element | Purpose | Example | Best Practices |
|---|---|---|---|
| Hook | Capture attention | “Did you know that 75% of learners prefer video content?” | Keep under 30 seconds, address viewer benefits |
| Learning Objectives | Set expectations | “By the end of this video, you’ll be able to…” | Use action verbs, be specific and measurable |
| Checkpoints | Reinforce learning | “Let’s pause and review what we’ve covered so far.” | Place every 3-5 minutes, vary question types |
| Call to Action | Drive application | “Now try creating your own example using this template.” | Make it specific, achievable, and relevant |
🎥 Transform Your Training Materials into Captivating E-Learning Videos – Discover How!
The Complete Elearning Video Production Process
Every educational video starts with a detailed production process. This process turns ideas into engaging learning experiences. Over the years, I’ve developed a three-phase approach to ensure quality and efficient use of resources. A well-structured workflow saves time, money, and boosts the educational value of your videos.

Pre-Production Planning Checklist
Successful video projects start with solid pre-production planning. This phase sets the stage for a smooth production process.
I begin by finalizing the script and creating a storyboard. This visualizes each scene. Then, I prepare a detailed shot list for camera angles and movements.
Scheduling is crucial for efficiency. I book talent, locations, and gather props and visual aids early. I also test equipment and set up backup systems.
Lastly, I create a detailed production schedule. This schedule outlines roles and responsibilities to avoid confusion during filming.
Production Day Best Practices
On filming day, following best practices is key. I arrive early to set up and test equipment before talent arrives.
Using teleprompters or cue cards helps presenters. I review footage immediately to catch any issues. This avoids problems in post-production.
I keep a shot log to track successful takes and concerns. For talent, I suggest comfortable, professional attire and light makeup to reduce shine under lights.
| Production Phase | Key Activities | Common Challenges | Success Metrics |
|---|---|---|---|
| Pre-Production | Script finalization, storyboarding, scheduling | Unclear objectives, scope creep | Approved documents, team alignment |
| Production Day | Filming, audio recording, direction | Technical issues, time management | Quality footage, completed shot list |
| Post-Production | Editing, graphics, audio mixing | Feedback integration, version control | Engagement metrics, learning outcomes |
Post-Production Workflow
Post-production turns raw footage into polished content. I organize footage before editing. A rough cut sets the structure, then I fine-tune timing and transitions.
Adding graphics and animations enhances key concepts. Music and sound effects improve engagement without distracting. Color correction and audio mixing ensure clarity and consistency.
The post-production workflow is time-consuming but vital. It’s where your content truly shines.
Quality Control and Review Cycles
I use a structured review process for feedback. Technical reviews check audio/visual quality, while content experts verify accuracy. User testing identifies comprehension issues before publication. Need help with your e-learning video production? Our platform connects you with experienced teams for every step of your project.
Animation Techniques for Educational Content
Using animation in educational videos makes complex ideas easy to understand. Animated videos turn abstract ideas into something real and fun to watch. This helps learners grasp and remember information better.
Animation lets me create visual metaphors for hard subjects. It shows things like tiny cells or math concepts in a way that’s hard to film in real life.

Types of Animation for E-Learning
I use different animation styles for different goals. 2D animation is versatile and affordable, great for most videos. Motion graphics make data interesting and easy to follow.
Whiteboard animation makes it seem like content is being drawn live. It’s perfect for showing steps or telling stories. Character animation adds a personal touch, making learning more relatable.
For teaching software, I mix screencasts with animations. This hybrid method makes complex tech easy to understand without feeling too much.
Animation Tools and Software for Beginners
You don’t need to be an expert to make educational animations. Vyond (formerly GoAnimate) and Powtoon are easy to use and perfect for beginners. They offer templates and drag-and-drop tools for creating educational content.
For more complex projects, Adobe After Effects is the top choice. But, it takes time to learn. AI video tools like Synthesia and Lumen5 make creating animated videos from text scripts fast and easy.
When picking animation software, I look at how easy it is to use, the templates available, and what assets and export options it offers. Need professional animation for your e-learning project? Skilled freelance animators can make your educational ideas come to life with engaging visuals.
Video Editing Techniques for E-Learning Content
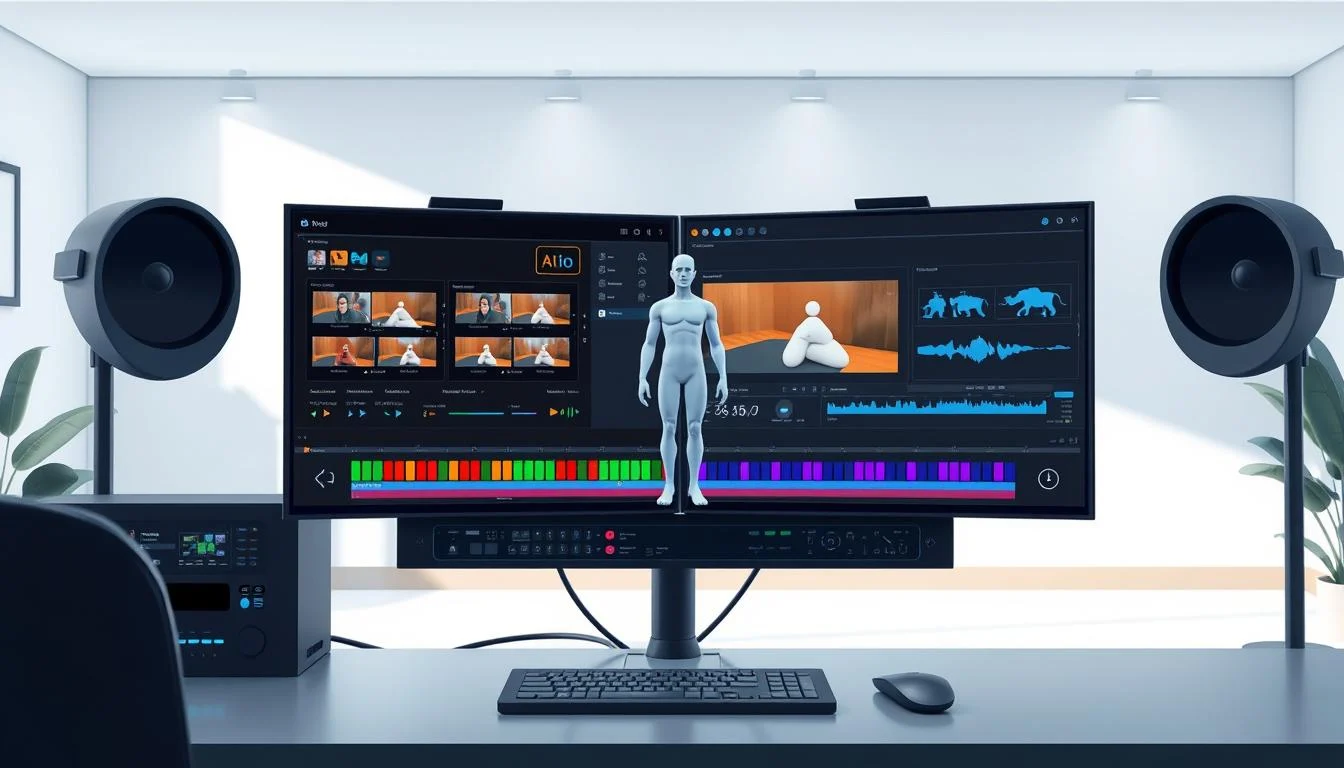
In the world of e-learning, video editing is key. It turns ordinary content into something special. After filming, the real magic happens in post-production. Here, raw footage becomes a polished tool that engages and teaches.
The right techniques make complex ideas clear. They keep students focused and interested. This makes learning more effective.
Basic Editing Principles for Educational Videos
When editing educational videos, I follow important rules. Clean cuts keep viewers interested. I avoid too many transitions, using jump cuts and dissolves wisely.
Audio quality is essential in educational content. I make sure narration is clear and background music doesn’t overpower it. This helps learners understand better.
Color correction makes videos look professional. I adjust playback speed to highlight important parts. Slow motion and time-lapse help without losing educational value.
Adding Graphics and Visual Aids
Graphics and visual aids enhance understanding. I use animated diagrams and process flows to explain complex ideas. These visuals help learners grasp difficult concepts faster than words alone.
Icons and symbols are great for quick reminders. Highlighting tools help focus attention on key parts of the video. This makes learning easier.
Keeping visuals consistent is key. I stick to a few colors and design elements. This helps learners focus on the content, not the visuals.
| Visual Element | Purpose | Best Practices | Impact on Learning |
|---|---|---|---|
| Animated Diagrams | Illustrate relationships | Keep animations simple and focused | Improves concept visualization |
| Process Flows | Break down procedures | Use numbered steps with clear labels | Enhances sequential understanding |
| Icons & Symbols | Create visual shorthand | Maintain consistent style throughout | Speeds recognition of recurring themes |
| Highlighting Tools | Direct viewer attention | Use sparingly for maximum impact | Focuses attention on key elements |
Text Overlays and Annotations
Text overlays help reinforce key points. I use them for important terms, context, or formulas. I choose easy-to-read fonts and make sure text stays on screen long enough.
Text should contrast well with the background. Sometimes, I add animation to grab attention without distracting. The goal is to support the narration, not compete with it.
Visual Pacing for Better Comprehension
I control visual pacing based on content complexity. Hard concepts get more time, while easy ones move faster. I add pauses after key points for processing.
This careful pacing improves understanding and retention. Need professional editing for your educational videos? Our platform connects you with skilled video editors who specialize in creating engaging, effective e-learning content.
Creating Interactive E-Learning Videos
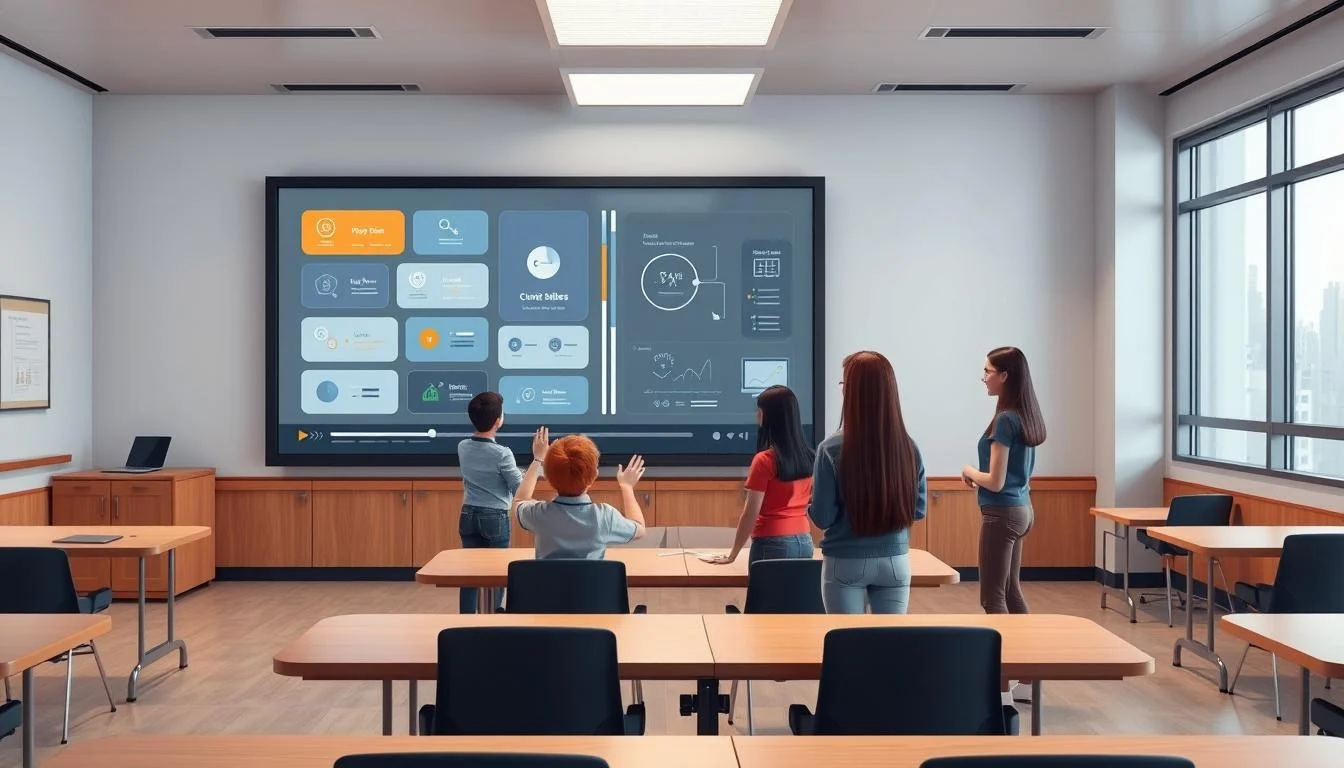
Adding interactive elements to videos boosts student engagement and retention. Traditional videos can be boring, but interactive ones make learners active. This active learning leads to better understanding and outcomes.
Interactive videos let learners click, respond, and decide. This keeps them focused and makes learning fun. I’ve seen how it turns dull material into an exciting journey.
Types of Interactive Elements
Interactive elements vary based on learning goals and tech. Clickable hotspots offer extra info on video items. They’re great for product demos or anatomy studies.
Multiple-choice quizzes check understanding at key points. For complex topics, I use:
- Branching scenarios for personalized learning paths
- Drag-and-drop for classification exercises
- Fillable forms for data entry practice
- Simulations for safe practice
Tools for Creating Interactive Videos
Many platforms make interactive videos easy to create, even for those without tech skills. For budget-friendly options, I suggest H5P. It works with many learning systems and supports various interactions.
For advanced needs, I use tools like:
- Articulate Storyline for detailed interactivity
- Adobe Captivate for customization
- PlayPosit or EdPuzzle for YouTube video enhancements
Each tool has its strengths in interaction types, analytics, and system integration. I choose based on project needs and client comfort.
Measuring Interaction Effectiveness
To improve my videos, I track important metrics. Completion rates show if learners finish the video. Question data helps spot areas needing more explanation.
Heat maps show click patterns to improve hotspot placement. Branching scenario analysis reveals common paths and misconceptions. This data helps refine future videos.
The best metrics link interaction data to learning success. This ensures each element has a clear educational purpose.
🔥 Boost Learner Engagement Instantly with Custom E-Learning Video Services!
Accessibility Best Practices for Learning Videos
In today’s digital education world, making content accessible is key. It’s not just about following the law; it’s about making sure all students can learn. Accessible videos help everyone, including those with disabilities and different learning styles.
Captioning and Transcription Workflows
I start with automated tools for captioning, like YouTube’s built-in features or services like Rev or Amara. But I always double-check the captions myself. This ensures they match the video perfectly.
For technical topics, I’m extra careful with terms that machines might get wrong. I follow best practices for captions, keeping them short and on screen long enough. For videos in many languages, I create a single transcript first. This makes translating subtitles easier.
Designing for Different Learning Styles and Needs
I make my instructional videos for all kinds of learners. Visual learners get a lot from graphics and demos. Auditory learners prefer clear narration and sound design.
I choose colors that everyone can see, avoiding color blindness issues. My videos are easy to navigate with a keyboard. I also use clear headings and logical order. For tough topics, I offer extra materials in different formats.
Want to make your e-learning videos more accessible? This platform has experts ready to help. They can guide you on captioning, transcription, and inclusive design.
Distribution and Integration of E-Learning Videos
Success in e-learning videos depends on more than just quality. How you share and integrate them is key. If learners can’t find your videos, they won’t watch them. A good plan for sharing is as important as making the videos.
Think about where your audience likes to find content. Do they use your company’s systems or public sites? Choose the right places to share your videos to keep learners engaged.
How videos work online is also important. They should load fast, work on all devices, and fit with your learning materials. This makes learning better, not worse.
Learning Management Systems (LMS) Integration
Proper LMS integration is vital for training programs. I work with systems like Moodle and Canvas to make sure videos work well. This lets you track who’s watching and fits videos into bigger training plans.
I focus on making videos easy to find in the LMS. This means using tags and organizing videos in a clear way. It helps learners find what they need when they need it.
For advanced tracking, I use SCORM or xAPI. These standards track how learners interact with videos. This info helps improve your content and how you share it.
Video Hosting Options and Considerations
Choosing a video hosting platform affects how well your videos work and what features you get. YouTube is free and works well, but it has ads. Vimeo is ad-free but costs money.
For privacy, platforms like Panopto offer special features. Self-hosting gives you control but needs technical skills. I help clients choose the best option for their needs and budget.
Analytics and Tracking Capabilities
Analytics and tracking show how well your videos are doing. I look at things like how many people watch and where they stop. This helps make your videos better.
Interactive videos show how well learners understand the material. This info helps improve your videos and shows their value. With the right data, videos become a powerful learning tool.
Security and Access Control
For sensitive content, strong security and access control are a must. I use things like passwords and domain restrictions to keep content safe. For very sensitive stuff, DRM can stop unauthorized sharing.
Conclusion
In this guide, I’ve shared strategies to make top-notch training videos that grab learners’ attention. The world of e-learning video production is full of chances for educators and creators to leave a mark.
Creating successful videos is more than just knowing how to use tech. It’s about connecting with your audience. By knowing what your learners need and using these best practices, you’ll make content that hits home and gets results.
Online course videos are great because they’re flexible. You can update them, share them on different platforms, and add interactive parts to help people remember. As video marketing grows, keeping up with new ways to make videos will keep your content up-to-date and effective.
🎯 Target Your Audience Effectively with Tailored E-Learning Video Content!
FAQ
For “E-Learning Video Production: Your Guide to Engaging Videos”
Q: What are the key elements of successful elearning video production?
A: Successful elearning video production typically involves several key elements: a well-researched script tailored to your learning objectives, professional-quality visuals that support your message, clear narration, appropriate pacing, and interactive elements where possible. The production process should include thorough planning, storyboarding, professional filming or animation creation, and post-production editing. What makes elearning videos truly effective is ensuring they’re engaging, concise, and directly relevant to your audience’s needs. A good production team will help balance educational content with visual appeal to create high-quality elearning that drives knowledge retention.
Q: How long should an elearning video be for maximum engagement?
A: For maximum engagement, most elearning videos should be kept between 3-7 minutes. Research in the elearning industry shows that viewer attention typically drops significantly after 7 minutes. For complex topics, consider breaking content into a series of shorter videos rather than one lengthy presentation. That said, the ideal length depends on your specific audience, content complexity, and where the video sits in the learning journey. Interactive videos can sometimes maintain engagement for longer periods by requiring viewer participation. Always ensure that the video delivers value throughout its duration, focusing on being concise rather than adhering to a specific time limit.
Q: What’s the difference between animated videos and live-action training videos?
A: Animated videos and live-action training videos each offer distinct advantages in elearning video production. Animation excels at explaining abstract concepts, simplifying complex processes, and maintaining consistent visual branding. It’s highly flexible, cost-effective for revisions, and ideal for creating scenarios that would be difficult or impossible to film. Live-action training videos, on the other hand, bring a human element that can create stronger emotional connections and demonstrate physical procedures more authentically. They’re often more relatable when showing interpersonal skills or real-world applications. Many effective elearning courses use both approaches strategically, selecting the format that best serves each learning objective.
Q: How can I create engaging elearning videos on a limited budget?
A: Creating engaging elearning videos on a limited budget is definitely possible with strategic planning. Start by investing time in a strong script and storyboard, as these elements don’t require significant financial investment but dramatically impact quality. Consider using simple animation styles or motion graphics rather than complex 3D animation. For filming, use smartphones with good cameras and inexpensive lighting kits rather than professional setups. Leverage cost-effective explainer video templates and stock media where appropriate. Many affordable or free tools and software are available for video creation and basic editing. Focus on clear instructional content rather than flashy effects, and consider producing shorter videos that target specific learning objectives to maximize your production resources.
Q: What is the typical elearning video content production process from start to finish?
A: The elearning video production process typically follows these stages: First, planning and scripting, where learning objectives are defined and content is organized into a clear narrative. Second, storyboarding, which visualizes the script and plans camera angles or animation sequences. Third, production, involving either filming with actors or creating animation based on the storyboard. Fourth, post-production, including editing, adding music, voice-over recording, and special effects. Fifth, integration of interactive elements if applicable. Sixth, review and quality assurance, ensuring educational accuracy and technical quality. Finally, deployment across your learning platforms. Each stage involves collaboration between subject matter experts, instructional designers, and the production team to ensure the final video achieves its learning goals while engaging viewers.
Q: How do interactive videos enhance the elearning experience?
A: Interactive videos transform passive viewing into active learning experiences by requiring viewer participation. They enhance the elearning experience by improving engagement, increasing knowledge retention, providing immediate feedback, and collecting valuable learner data. Interactive elements might include clickable hotspots, branching scenarios that allow learners to make decisions and see consequences, knowledge check questions, or interactive timelines. These features make learning more personalized and self-directed. Research shows interactive videos can increase completion rates and information retention compared to traditional videos. They’re particularly effective for scenario-based training, complex decision-making processes, and skills that require critical thinking rather than just information transfer.
Q: What should I look for when hiring a professional elearning video production company?
A: When hiring a professional elearning video production company, look for a team with specific experience in educational content, not just commercial video marketing. Review their portfolio for video examples relevant to your industry and learning objectives. Assess their instructional design capabilities alongside their technical production skills. A full-service elearning production company should demonstrate understanding of adult learning principles and how to translate them visually. Evaluate their process for incorporating subject matter expertise and measuring learning outcomes. Check if they offer end-to-end services including scripting, production, and LMS integration. Ask about their approach to project management, feedback cycles, and revisions. Finally, request client references specifically from their educational video production work to verify their reliability and collaborative approach.
Q: What equipment and software do I need to create elearning videos in-house?
A: For in-house elearning video production, you’ll need both hardware and software tools. For hardware, invest in a good camera (a smartphone works for beginners), a tripod, basic lighting, and a quality microphone. For software, you’ll need video editing software, screen recording software, and possibly animation tools. Consider a green screen for background flexibility. Start with basic equipment and upgrade as your skills grow.
Related Articles:
- Screencast Video: Screen Recording and Comprehensive Video Editor Guide
- Live Action Explainer Video Examples & Services: A Comprehensive Guide
- Animated Explainer Video Production & Animation
- Crowdfunding Video Production: Top Effective Kickstarter Video Services
- Article to Video: Turn Articles into Engaging AI Video
This post contains affiliate links, which means I may earn a commission if you make a purchase through these links. There is no additional charge to you! Thank you for supporting my blog so I can continue creating free content each week!


